
Menu page language vs content translations in WebQRMenu
A QR menu can match the guest’s language in two layers: page language (buttons, labels, chrome) and content translations (dish names, descriptions, section titles). WebQRMenu configures them in different places; guests switch language from the menu header.
Related reading: The dish card, Menu structure.
In short: in page layout set Language (Aurora Prime demo uses Russian), turn on Translations, and add content languages (English, Georgian). Translate dish and section fields, then Save. On a phone the guest opens the language sheet — UI and translated content follow
?lang=.
1. Page language and translation languages
Open the menu page layout settings and the Page language block.
- Language — default guest UI language (demo: Russian).
- Translations — enables multilingual content. The helper text states that main text lives in the content fields in Russian, with translations listed below.
- Languages for translation — chips for target languages. The example has English and Georgian.
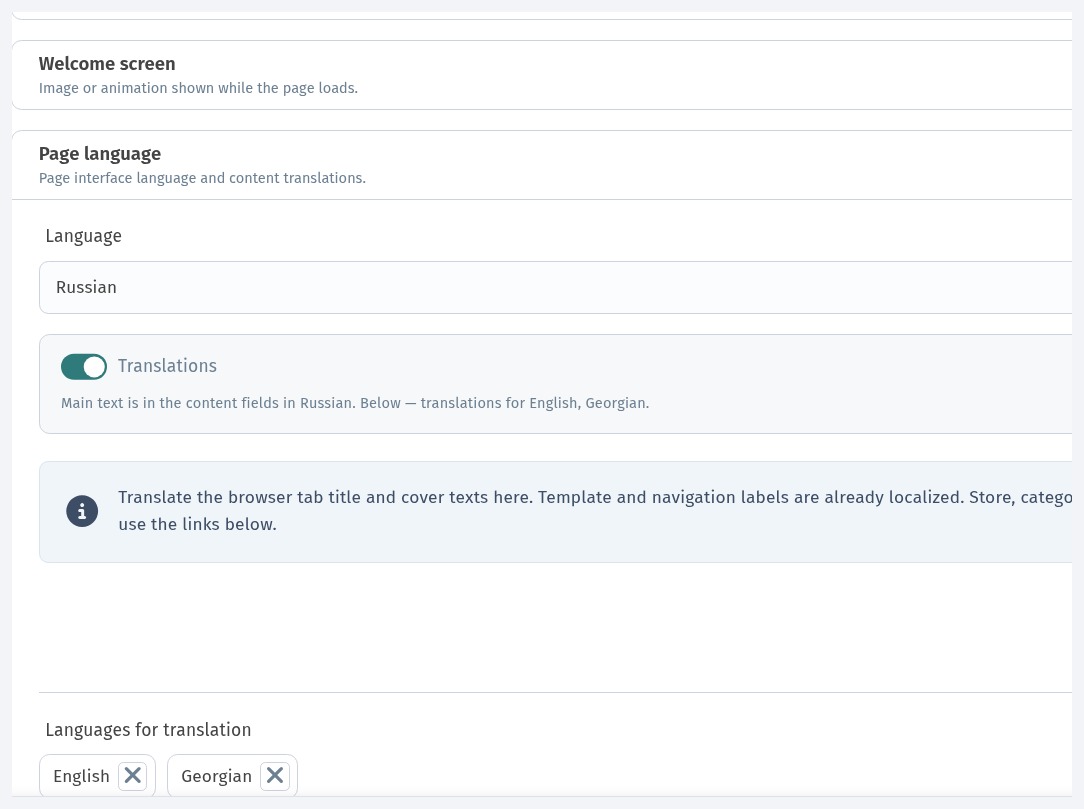
Links nearby open store, category, and position translations. Browser tab title and cover texts are edited here; template and navigation labels are already localized. Click Save if you changed the settings.
2. Translate a dish card
In Menu content open a section, open a dish (example: Margherita), and expand Translations. Confirm the language chips, expand English (or another language), and fill:
- dish name;
- description;
- ingredients;
- card label.
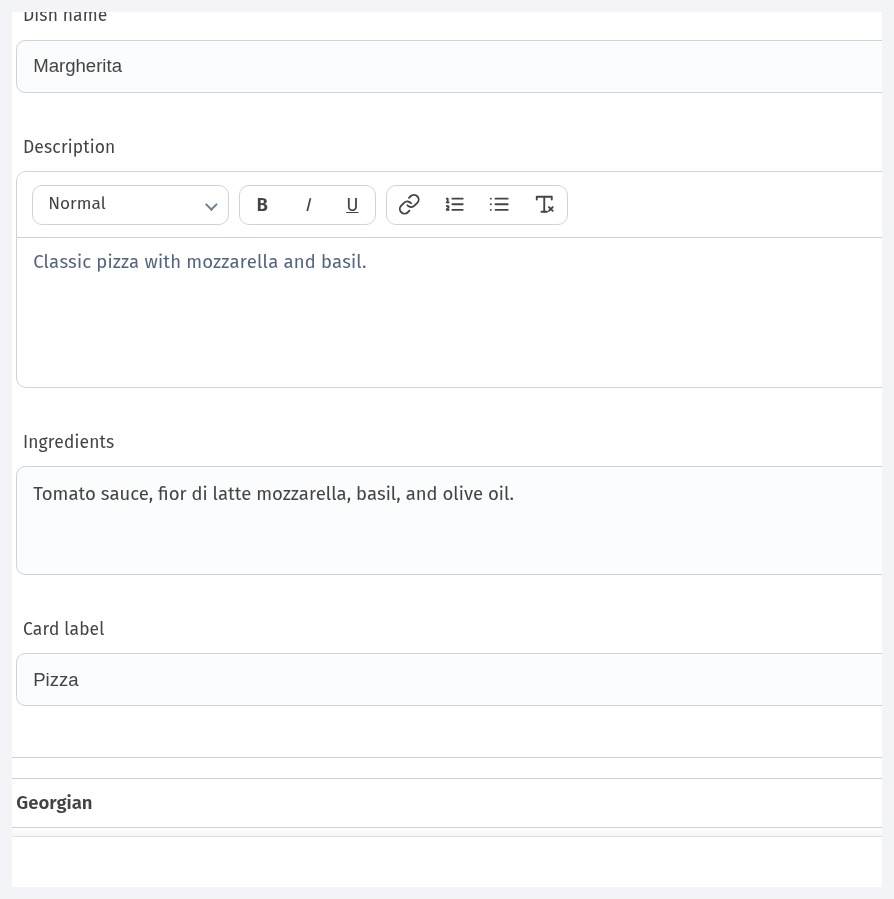
Click Save at the bottom of the form. Repeat for every language you offer — empty fields mean that language will not show a complete translation for this item.
3. Translate a section name
In the sections list open category settings (base name in the example: Пицца). The Category dialog shows section name, KDS station, Languages for translation chips, and language panels. Expand the language you need and fill Section name (for example Pizza under English).
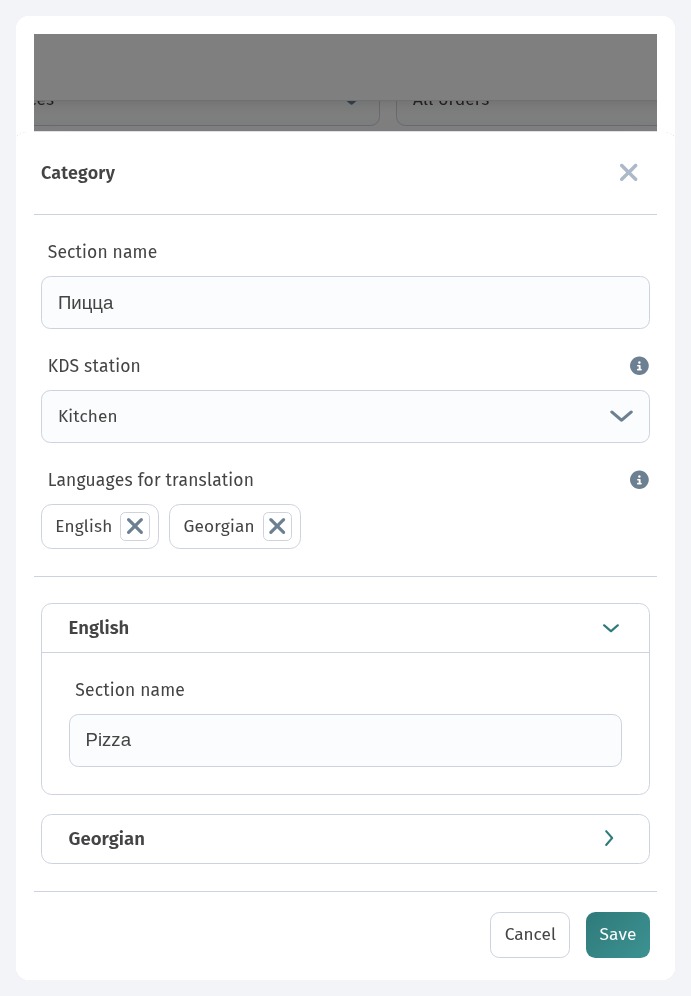
Click Save in the dialog if you edited a translation. Only the section name is translated here — this dialog has no section description field.
4. Guest language switcher
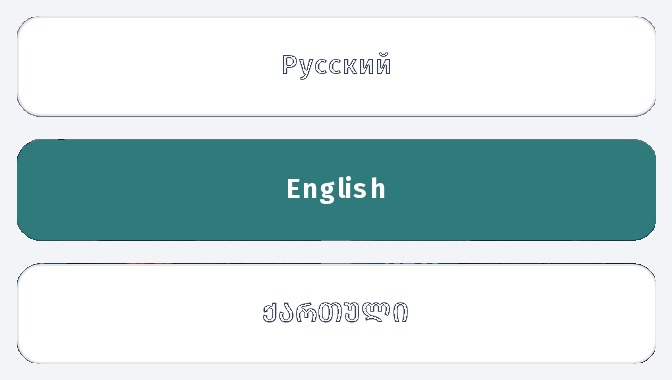
Open the public menu link on a phone and tap the language control in the header. The sheet lists Русский, English, and ქართული. Choosing one sets ?lang= and switches both the UI and the available translated content.
5. Menu section in the selected language
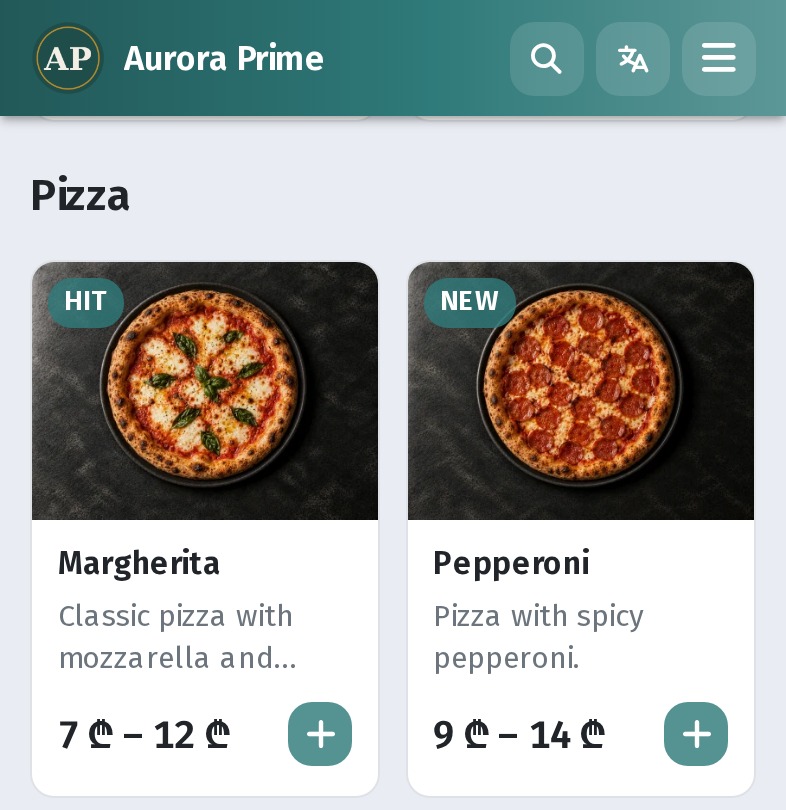
After switching language, open the pizza section. The heading and dish cards follow that language. The example shows two photo cards — Margherita and Pepperoni — with badges and prices.
6. Dish sheet in the selected language
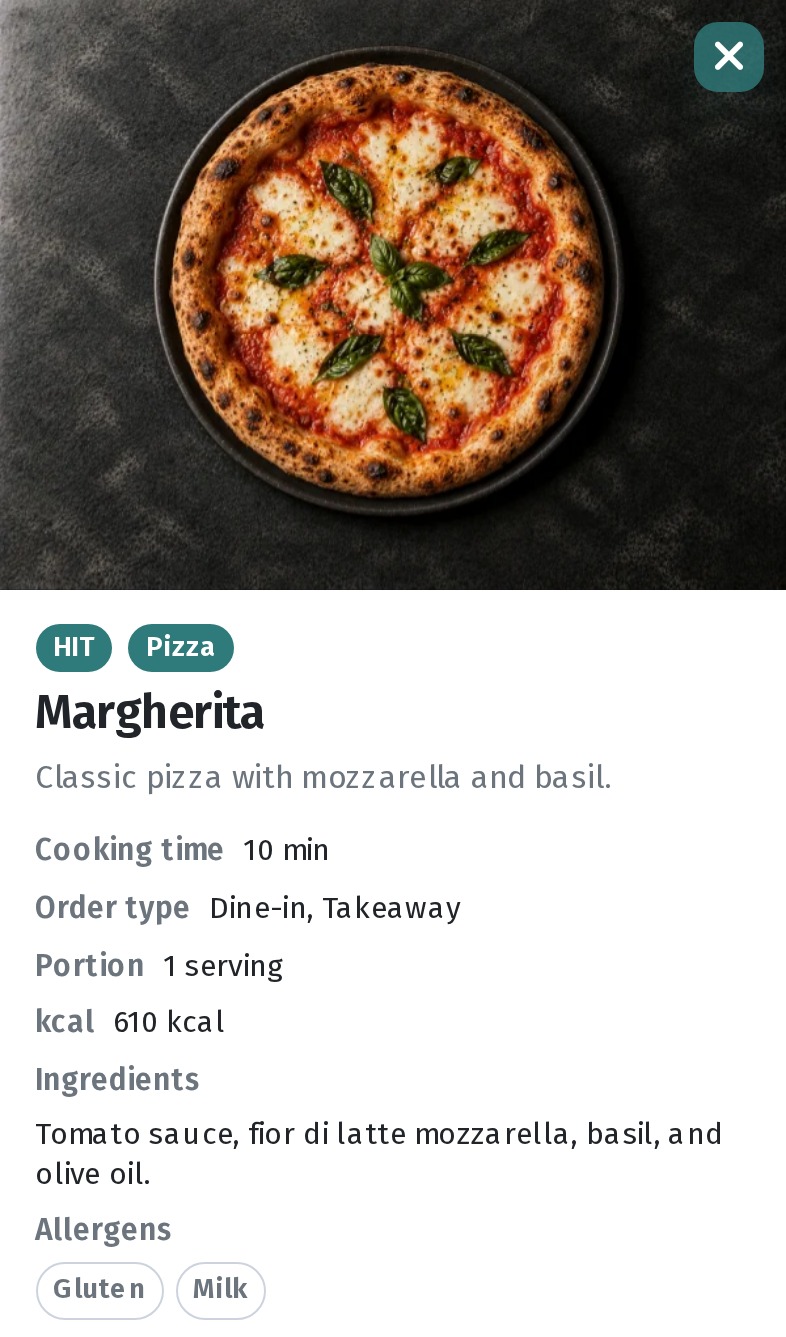
Open Margherita. The sheet shows the localized name, description, ingredients, and allergens (Gluten, Milk in the example). Interface labels such as cooking time and order type also follow the page language.
7. Practical tips
- Page language and content translations are separate: set the UI and language list first, then fill dish and section texts.
- Fill every language you enabled in the chips — do not assume a hidden automatic fallback.
- After saving, check the guest link: switcher, section, and dish sheet in RU / EN / KA.
- Language names in the list (for example Russian / Русский) are data values and can appear in every dashboard UI language.
Checklist
- Layout → Page language → default language, Translations on, EN/KA chips → Save.
- Dish → Translations → fill fields → Save.
- Section → category dialog → translate name → Save.
- Guest → language sheet →
?lang=. - Confirm section title and cards, then the dish sheet.